
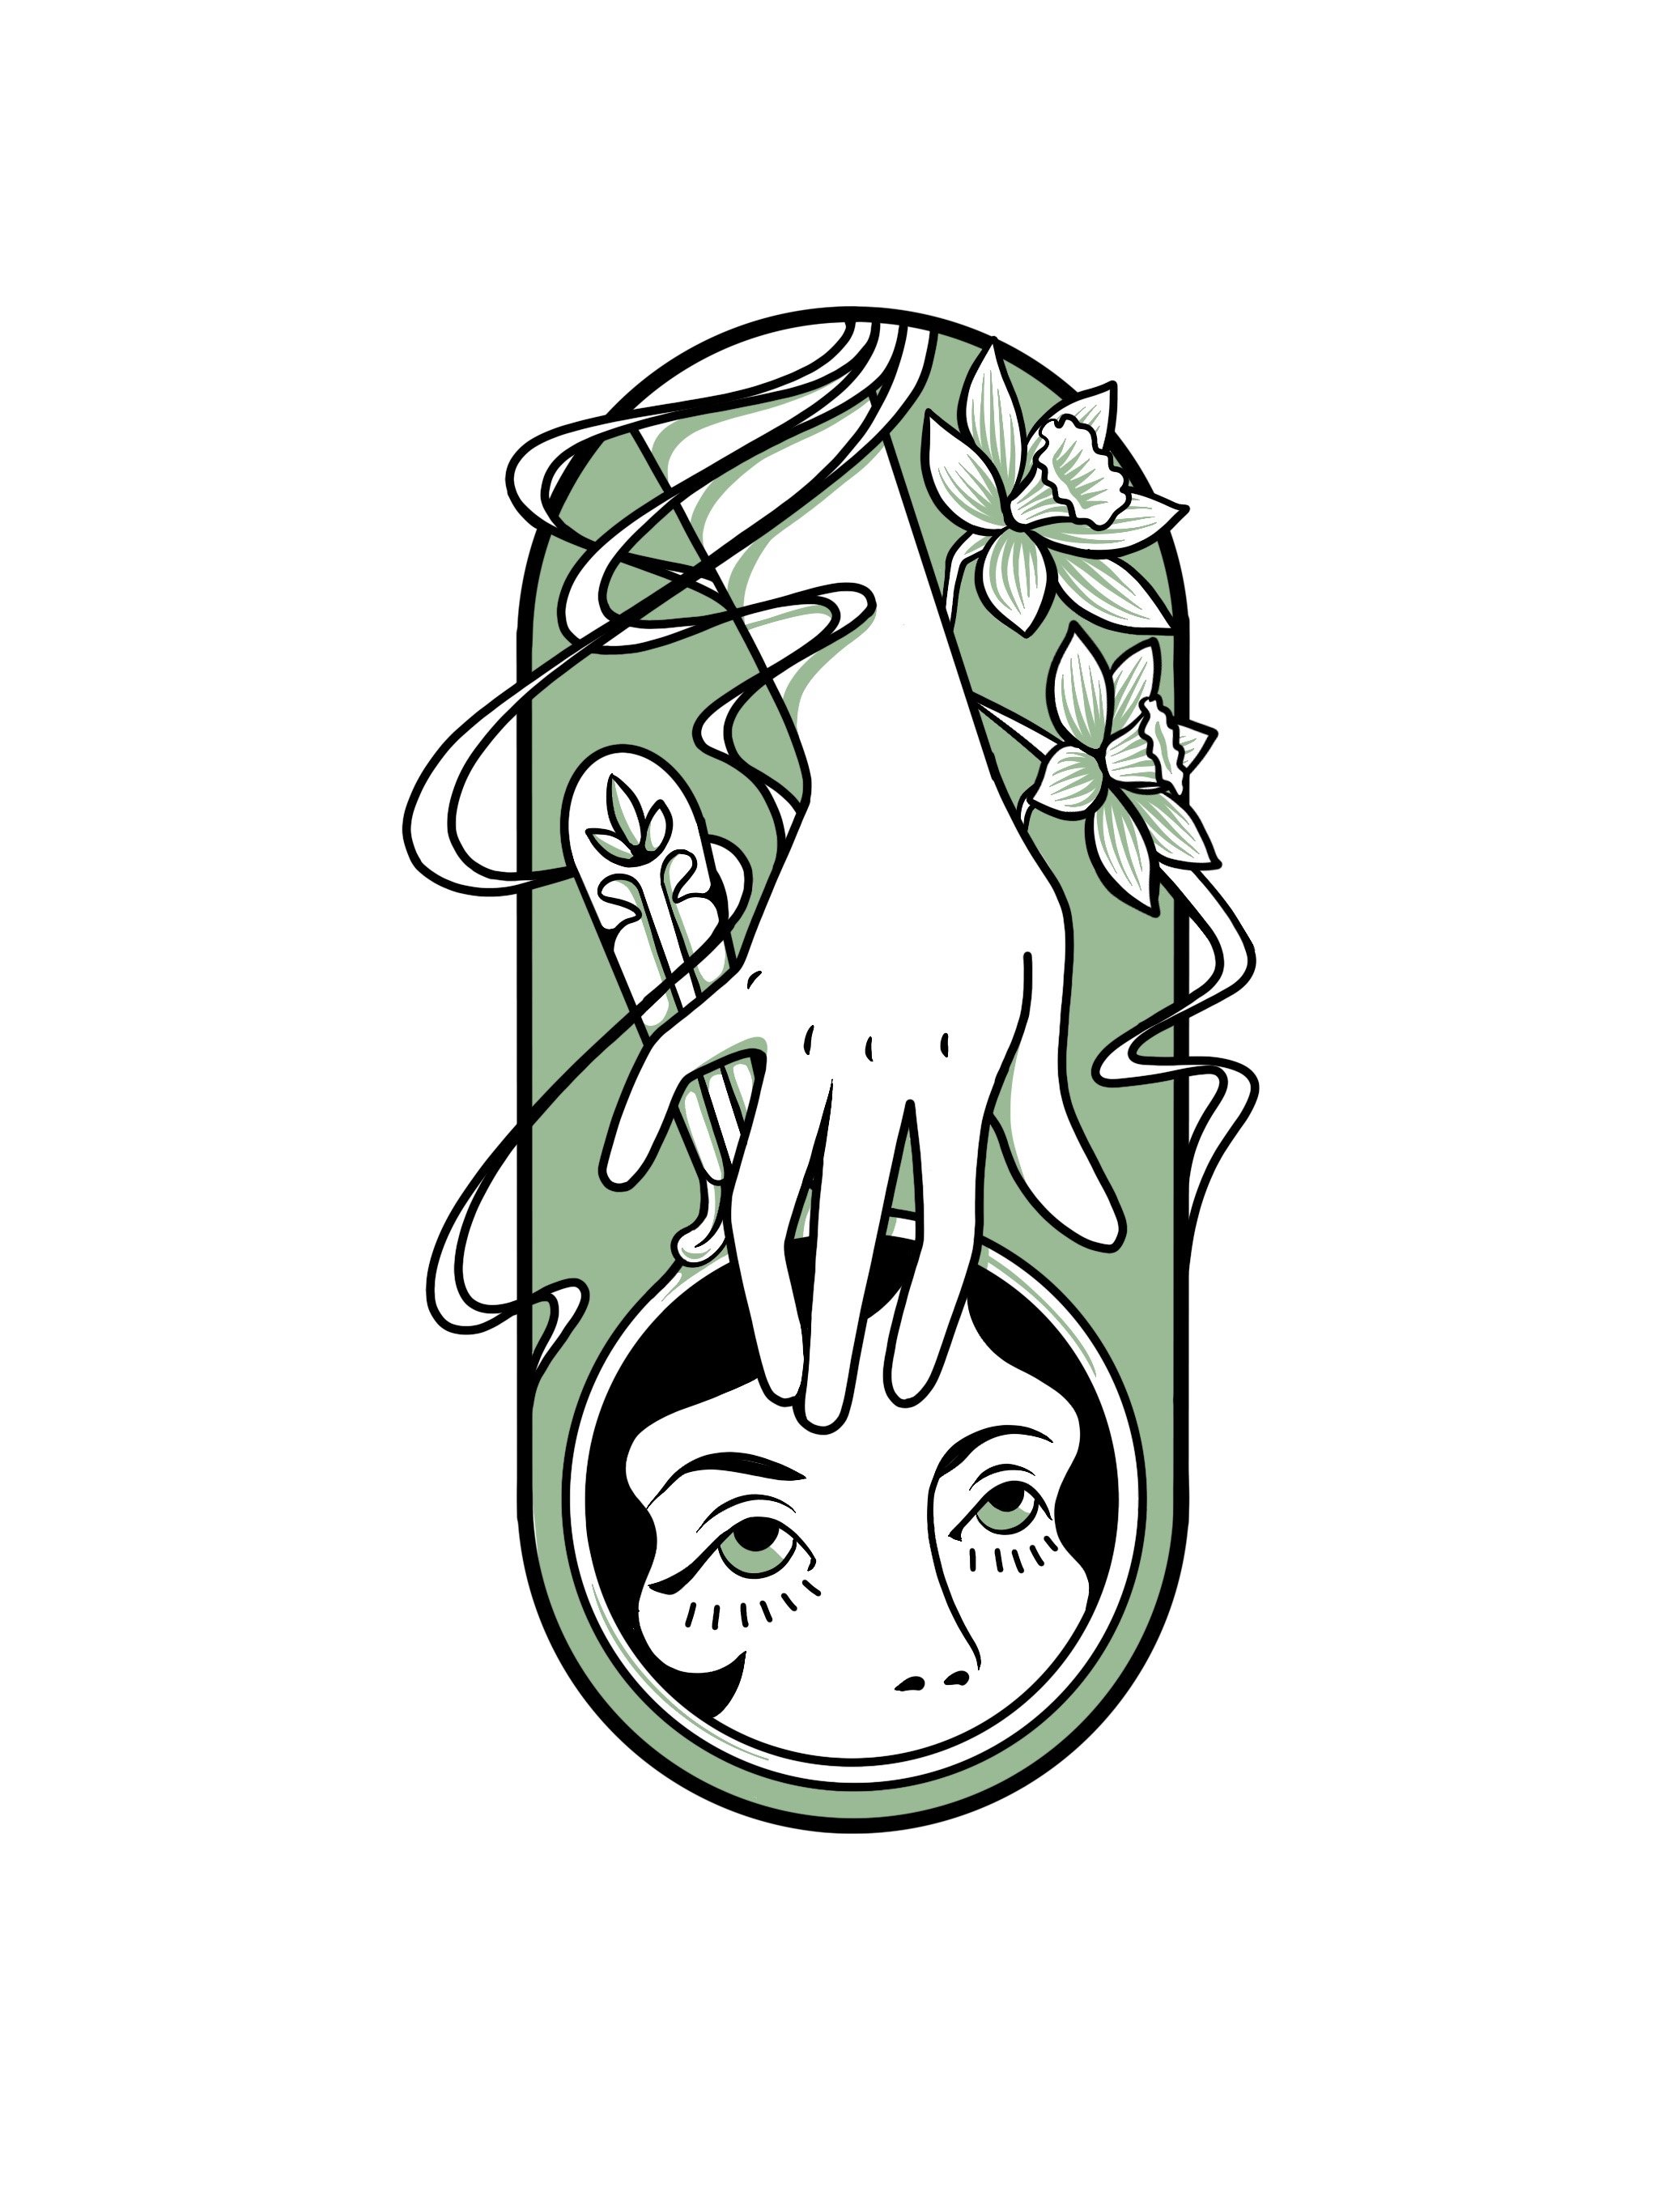
Entry 001: “All is Vanity” Part 1
In this entry I share links to my favorite tools and supplies, but these are not affiliate links or sponsored ads. I do not get any kind of monetary gain (or otherwise) from these recommendations. I am not associated with the brands or websites linked.
This entry walks through the first few steps of my design process from inspiration to transferring the image to the block.

STEP 1: Concept
My first physical step in the design process is sketching, but before that I start with a concept. I keep a long list of design ideas and concepts in my iPhone Notes app, easy to record whenever the inspiration strikes.
The title “All is Vanity” comes from a statement in the book of Ecclesiastes in the Bible. It’s an observation of the human experience and how seemingly pointless this life is. Not to give spoilers, but the conclusion of the book is that this life is not pointless, and there is meaning in what we’ve been given but that meaning is much bigger than us. However, for this concept I wanted to sit in that uncomfortable in-between and explore the feeling of reaching for meaning and never feeling satisfied.


Step 2: Loose Sketching
I first sketched for this design during a spurt of creative motivation in October of 2021. My creative energy often works like that—striking hot for a period of time and then cooling off for an indefinite amount of time. I think a lot of creatives experience the same ebb and flow of inspiration.
I sketch on an iPad using the Procreate App. I keep my initial sketches really loose—focusing on composition, balance, and flow. This particular design draws a lot of styling cues from the Art Nouveau style and vintage illustration.

Step 3: Refining the Sketch
I continued refinement of the sketch, illustrating the colors I want to use and planning the blocks and layers of the print.
This design really felt like it needed that metallic gold to emphasize certain elements. I love the classic combination of black and gold on a warm background.
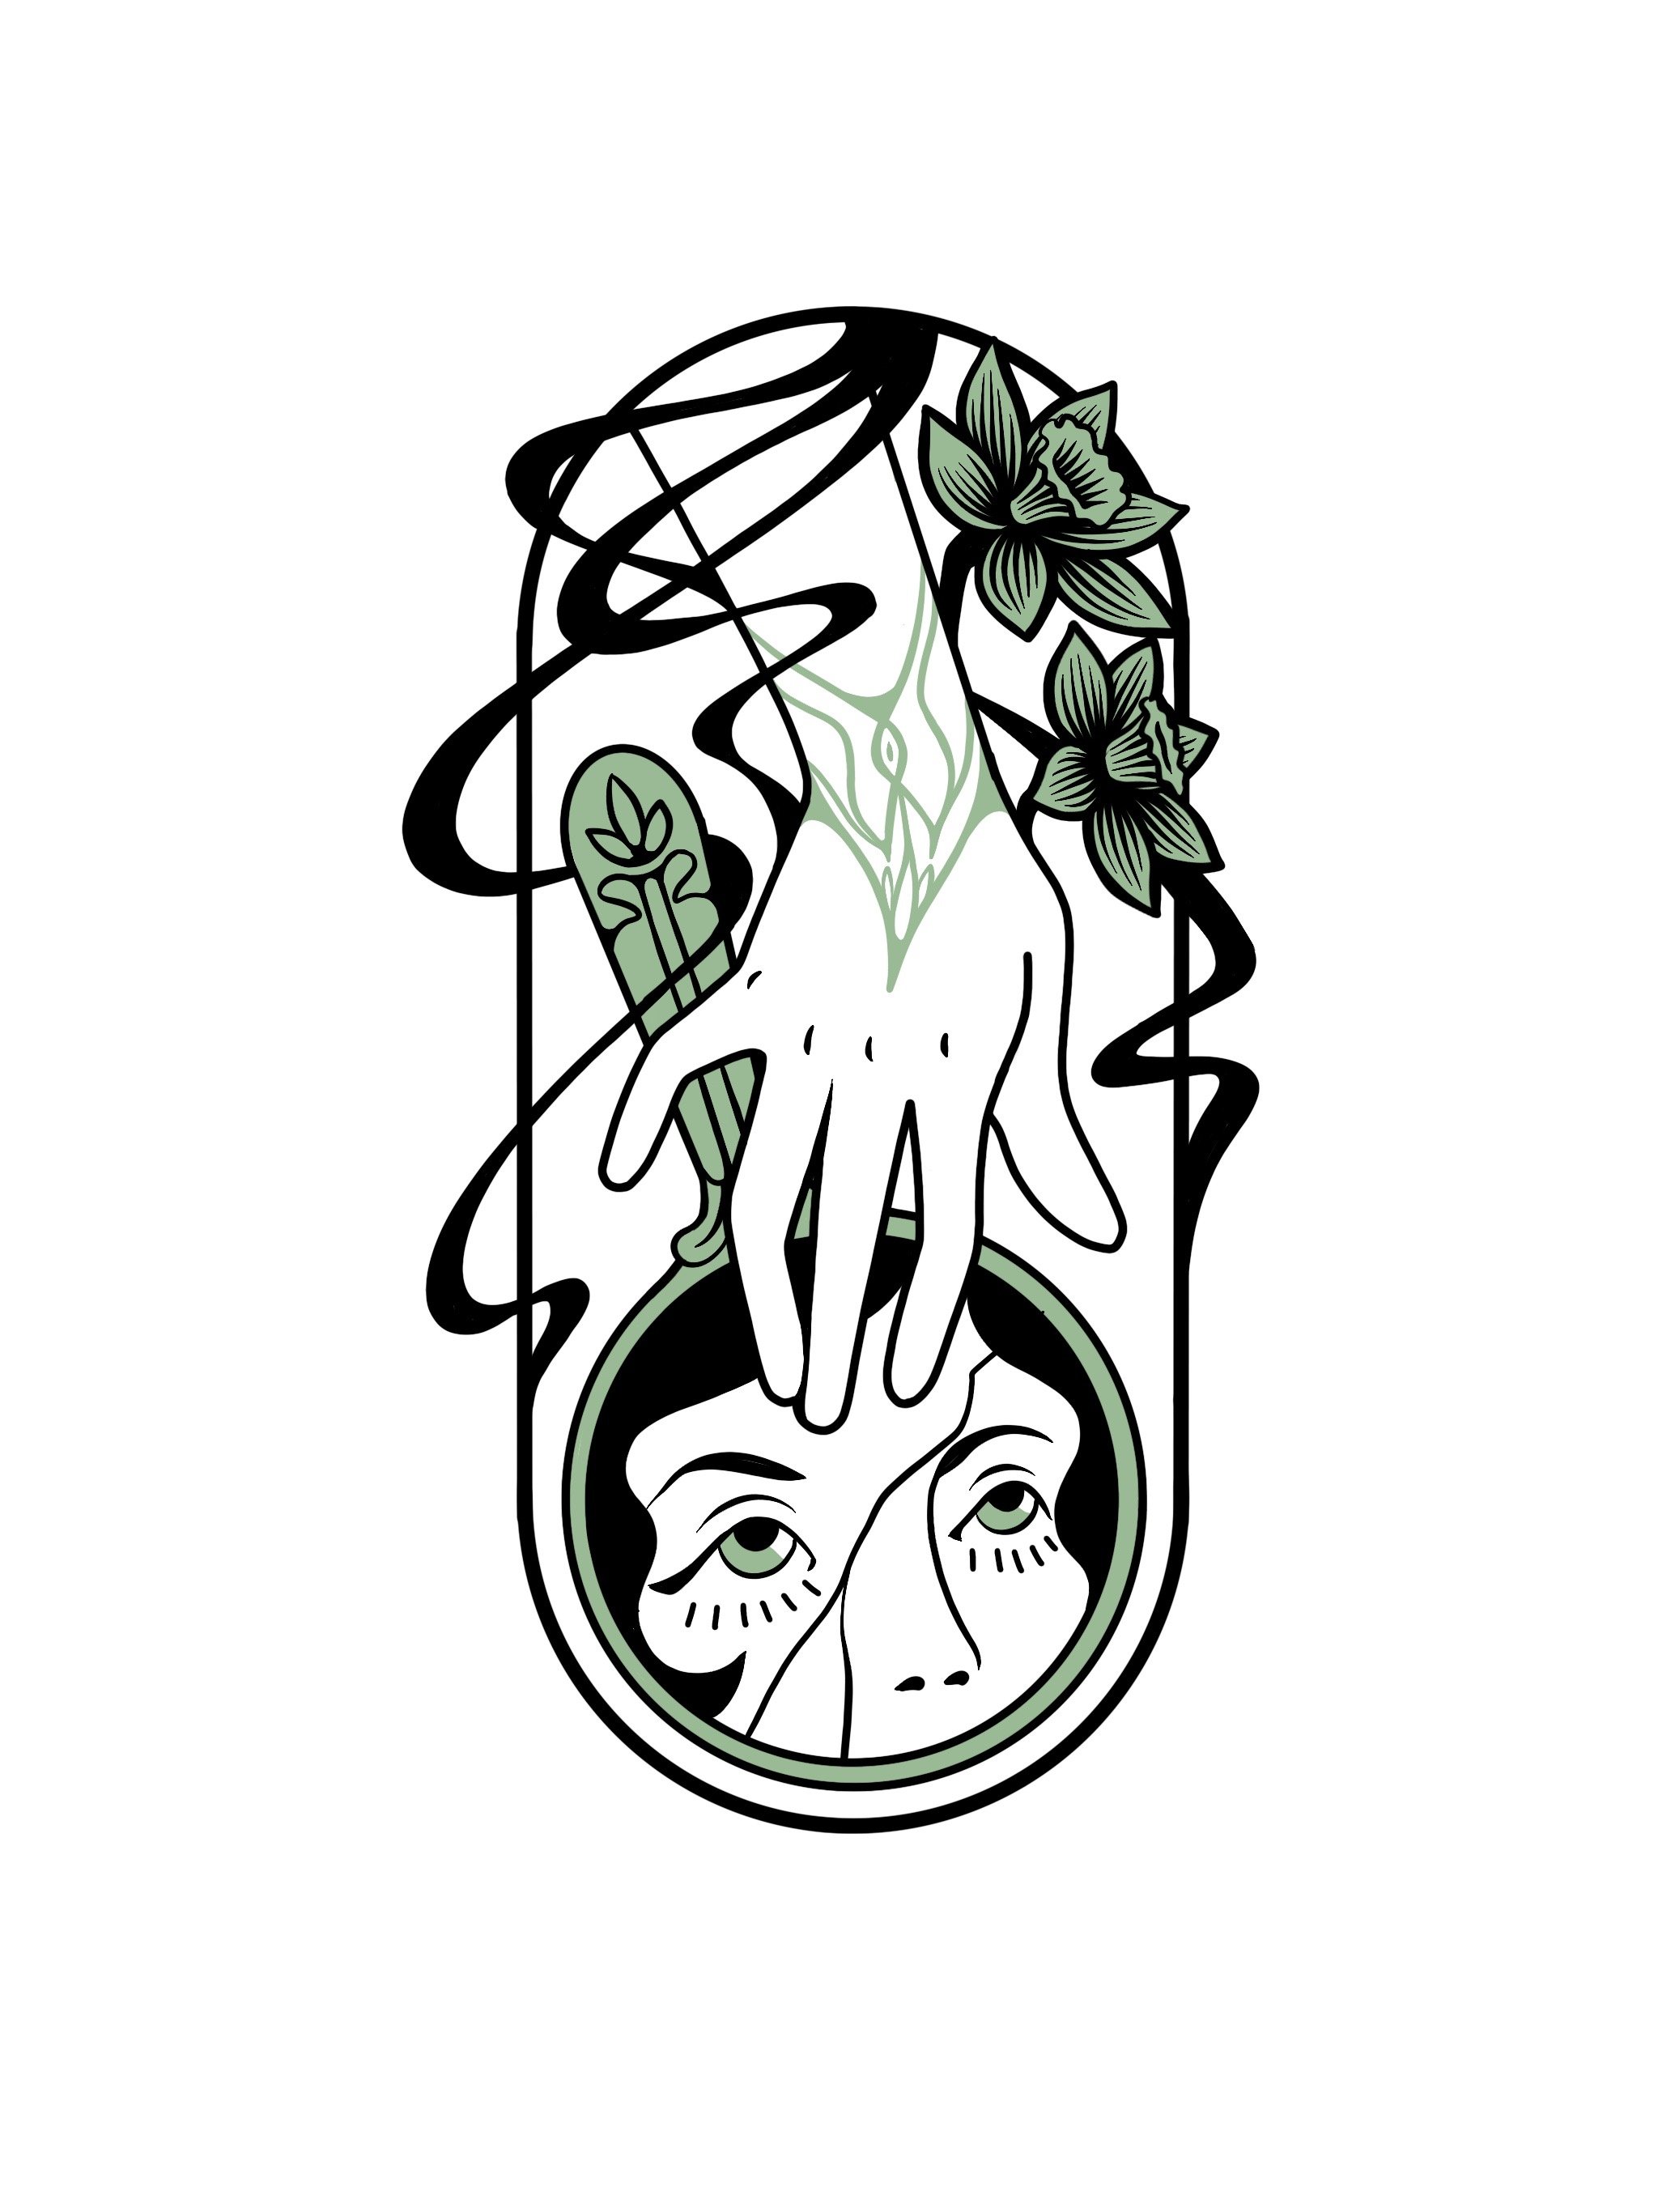
Alternate versions I considered at this stage:


Step 4: Transferring the Sketch to the Block
For my process, I work to make tedious steps easier and faster so that I can really lean into the more artistic steps and spend my time there.
I transfer my sketch to the Gomuban block by printing out the design onto a waxy paper on my inkjet printer. I lightly sand the surface of my block, and press the wet ink from the paper onto the block. This method is very fast and accurate and works well for my process and my style.
Here is a link to my Instagram Reel that shows this process.
Part 2 will be posted on May 22, 2023 and will cover the printing preparation process for “All is Vanity.”
“All is Vanity” is available for purchase now:
U.S.A.: https://www.esteldor.com/currentworks/p/all-is-vanity
International: https://www.etsy.com/listing/1476637723/all-is-vanity-limited-edition-linocut